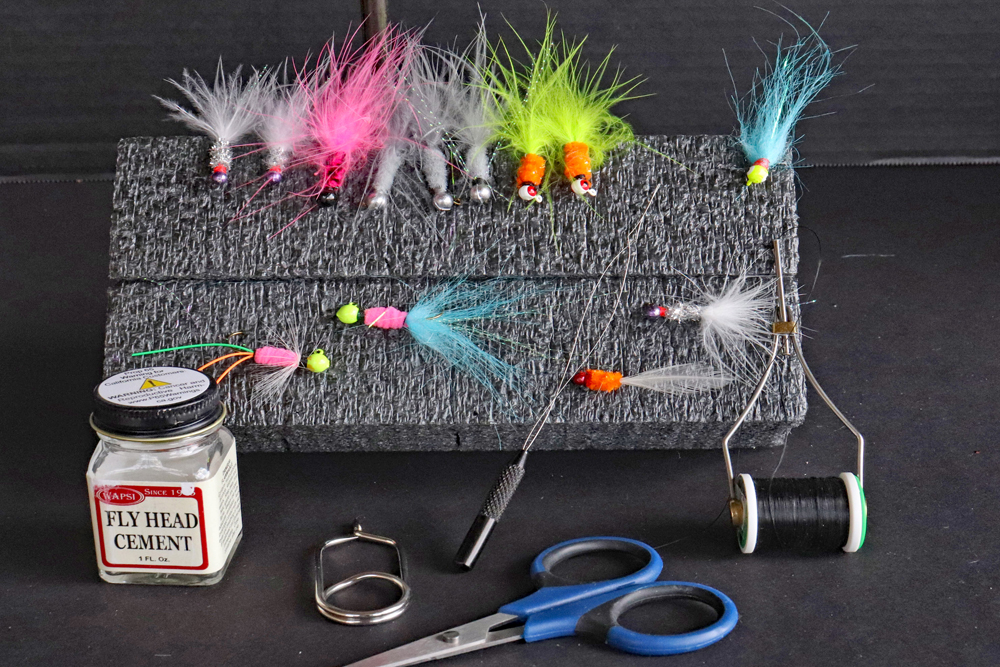
A small sampling of hand-tied crappie jigs, plus the necessary tools for tying. Left to right,
the tools are head cement, hackle pliers, bobbin threader, bobbin and scissors.
DIY Crappie Jigs
by Darl Black
There is no way to prove it, but there is a good chance the very first artificial fishing lure most likely was a makeshift hook with either some bird feathers or animal fur tied to it. The first written description of an artificial fishing lure came from Roman scholar Claudius Aelianus near the end of the second century. He described how anglers “fastened red wool… round a hook, and fit on to the wool two feathers which grow under a cock’s wattles.”
Nowadays, however, molded plastic bodies have largely replaced natural fibers tied to the shank of a hook. Many modern-day anglers seem to overlook hand-tied jigs. But for some “old-school” anglers and do-it-yourselfers, hand-tied “hair” jigs remain an all-time favorite. And now new man-made fibers coupled with select natural hair-fur-feathers provide an array of tying material in a kaleidoscope of colors for crappie fishermen.
Not every crappie angler stocks hair jigs in their tackle box…but I think they should. There are many fine hand-tied products produced, or you can tie your own.
Catching a fish on a lure you created yourself adds a unique element to your fishing, plus a great deal of pride.
Yes, I know you are busy. But if you have time on your hands during a lockdown wintertime polar express, an unbearable summer heat wave, or while waiting for your teenager to return home from a Friday night date with the family car – then you have time to tie up some crappie jigs.
Basic tools and supplies
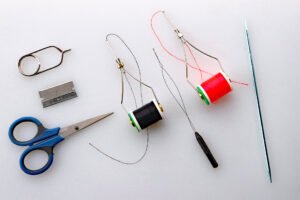
There are many sources for products to create your own crappie jigs. Two are Barlow’s Tackle Shop and Jann’s Netcraft. Here are the basics you need:
- A Tying Vise that will hold size #10 to #1 hooks securely. I use a spring vise from Jann’s Netcraft; item # 420-900. It cost about $50.
- Good pair of small Scissors for cutting fur and feathers; plus, a single side razor blade for clean cuts of thread.
- Mid-price Bobbin to hold thread spool while wrapping; be sure it has flared tip. I have two, each loaded with different color thread. (Approx. $10 each bobbin.)
- Bobbin Threader – absolute necessity; otherwise you will go crazy trying to get thread through the bobbin tube. (Approx. $5 to $9)
- Hackle Pliers for holding a small amount of hair or fur about to be tied on the shaft; but most importantly, to spin a hackle feather around the hook shank. (Approx. $5 to $8)
- Whip Finisher – optional. This device is used to secure final wraps of thread on the collar. Rather than a tool, many jig tiers use their version of a half-hitch knot to finish the wrap, then secure it with a couple drops of Head Cement.
- A large metal needle or even a slender nail for precise placement of a couple drops of head cement on the wraps.; I use an old aluminum darning needle. Or you can buy a Bodkin for about $4.

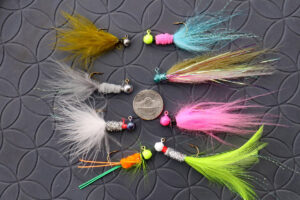
A sampling of hand-tied crappie jigs demonstrates how the various tying materials can be used to create custom jigs. Not all turned out perfect – but all will catch crappies. - Several spools of Jig Tying Thread Size 210 Denier. I would recommend at least three colors: black, red and gray.
- Jar of Head Cement to secure wraps.
- An assortment of tying material with selection based on what type of jigs you intend to tie, and the color scheme you desire. Basic material may include Chenille in Medium or Large; accent flash (i.e. Flashabou, PolarFlash, Jig-N-Fly Flash); Craft Fur (a.k.a. Imitation Polar Bear Hair); Icelandic Wool streamer hair; Marabou Feathers; round rubber “bug legs” and perhaps some inexpensive strung Saddle Hackles (colored chicken feathers).
- Jig heads. Convincing newbies to find time to tie is difficult enough, so I’m not going to suggest you buy molds and pour your own lead – unless you are retired with lots of time on your hands. Instead, buy pre-molded leadheads – either painted or unpainted.
You can copy a pattern you have seen in a photo, or simply develop your own design. Don’t worry if it isn’t as neatly tied as store-bought jigs. I believe, “Commercial jig-makers need to catch anglers while do-it-yourself jig makers just need to catch fish.”
An illusion of prey is all that is needed – not a perfect replication. Imperfect jigs still catch fish.
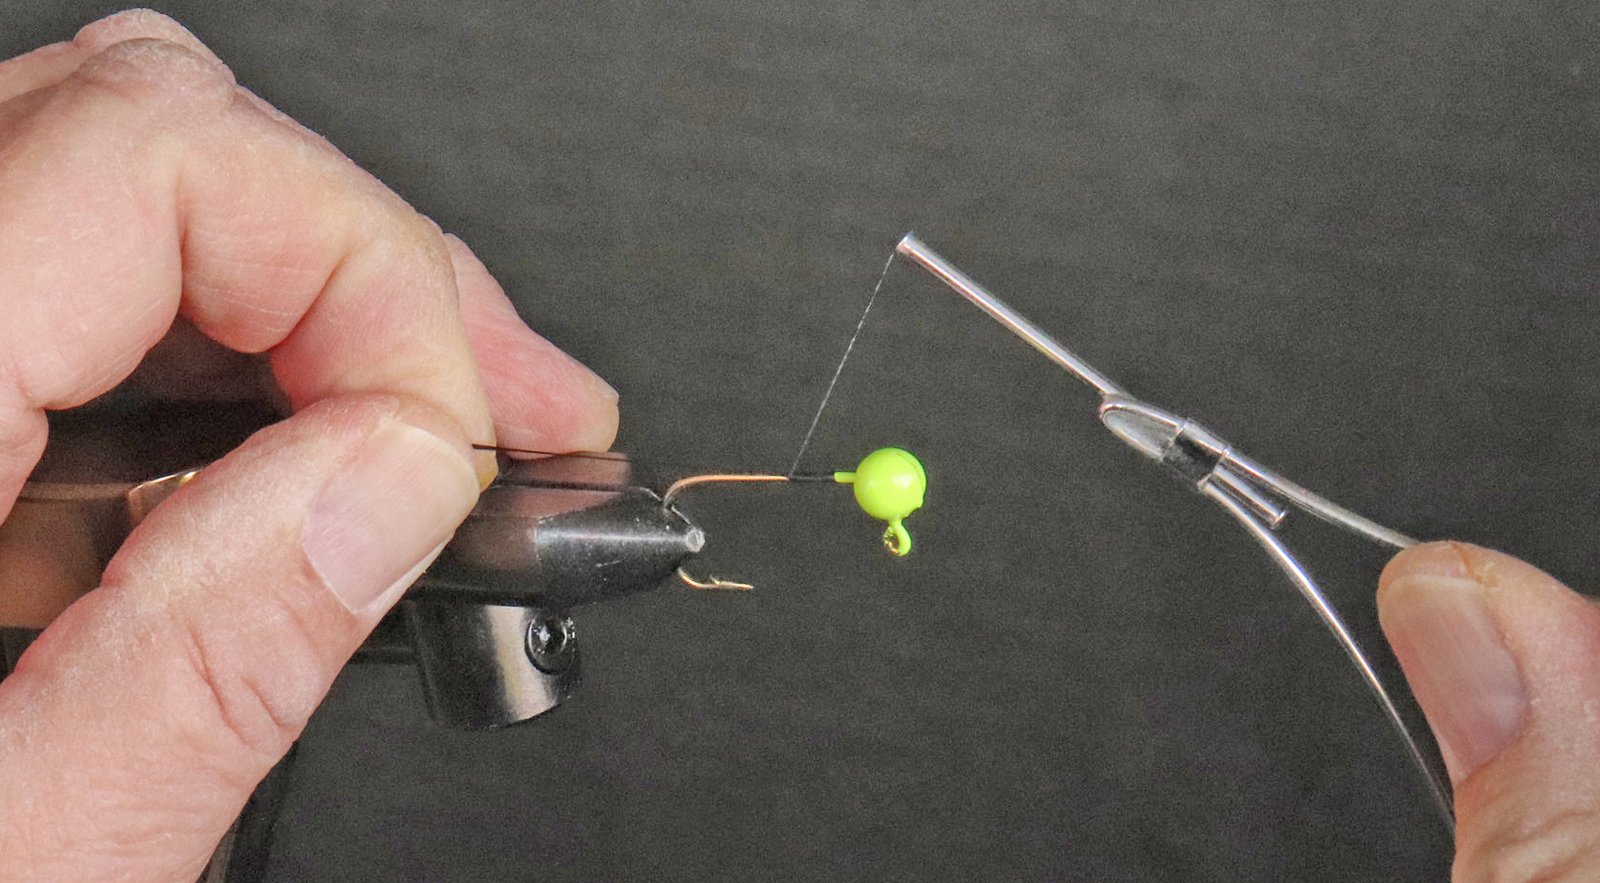
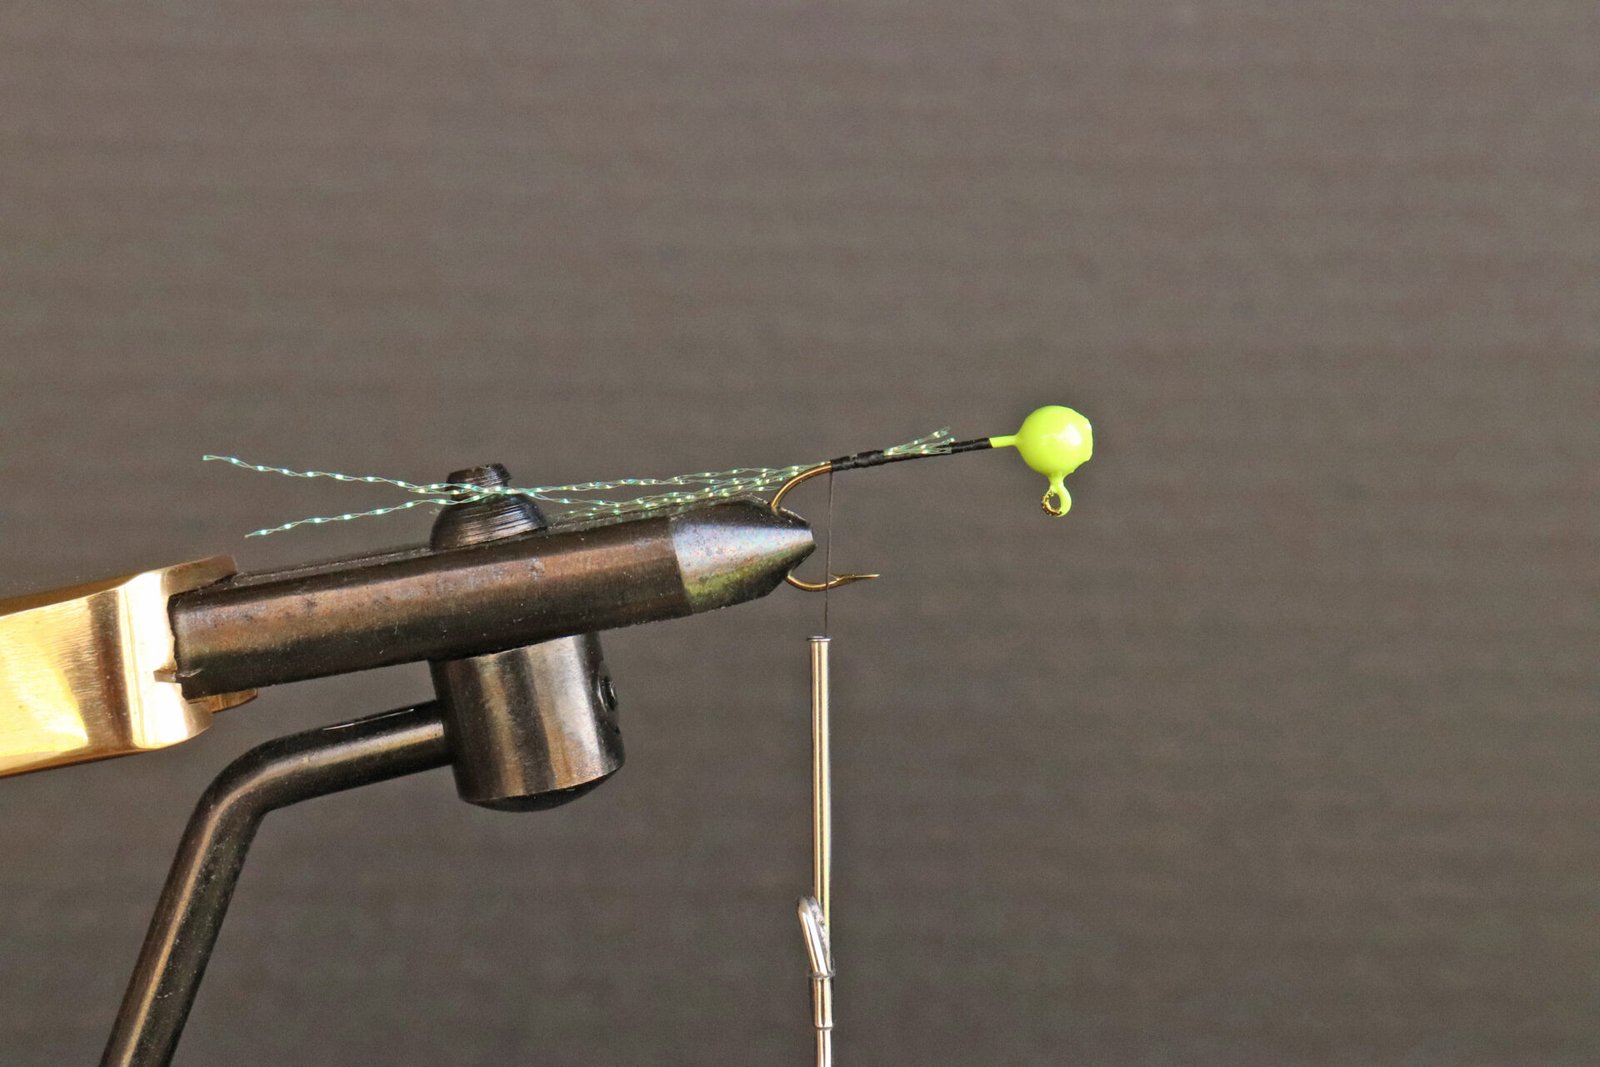
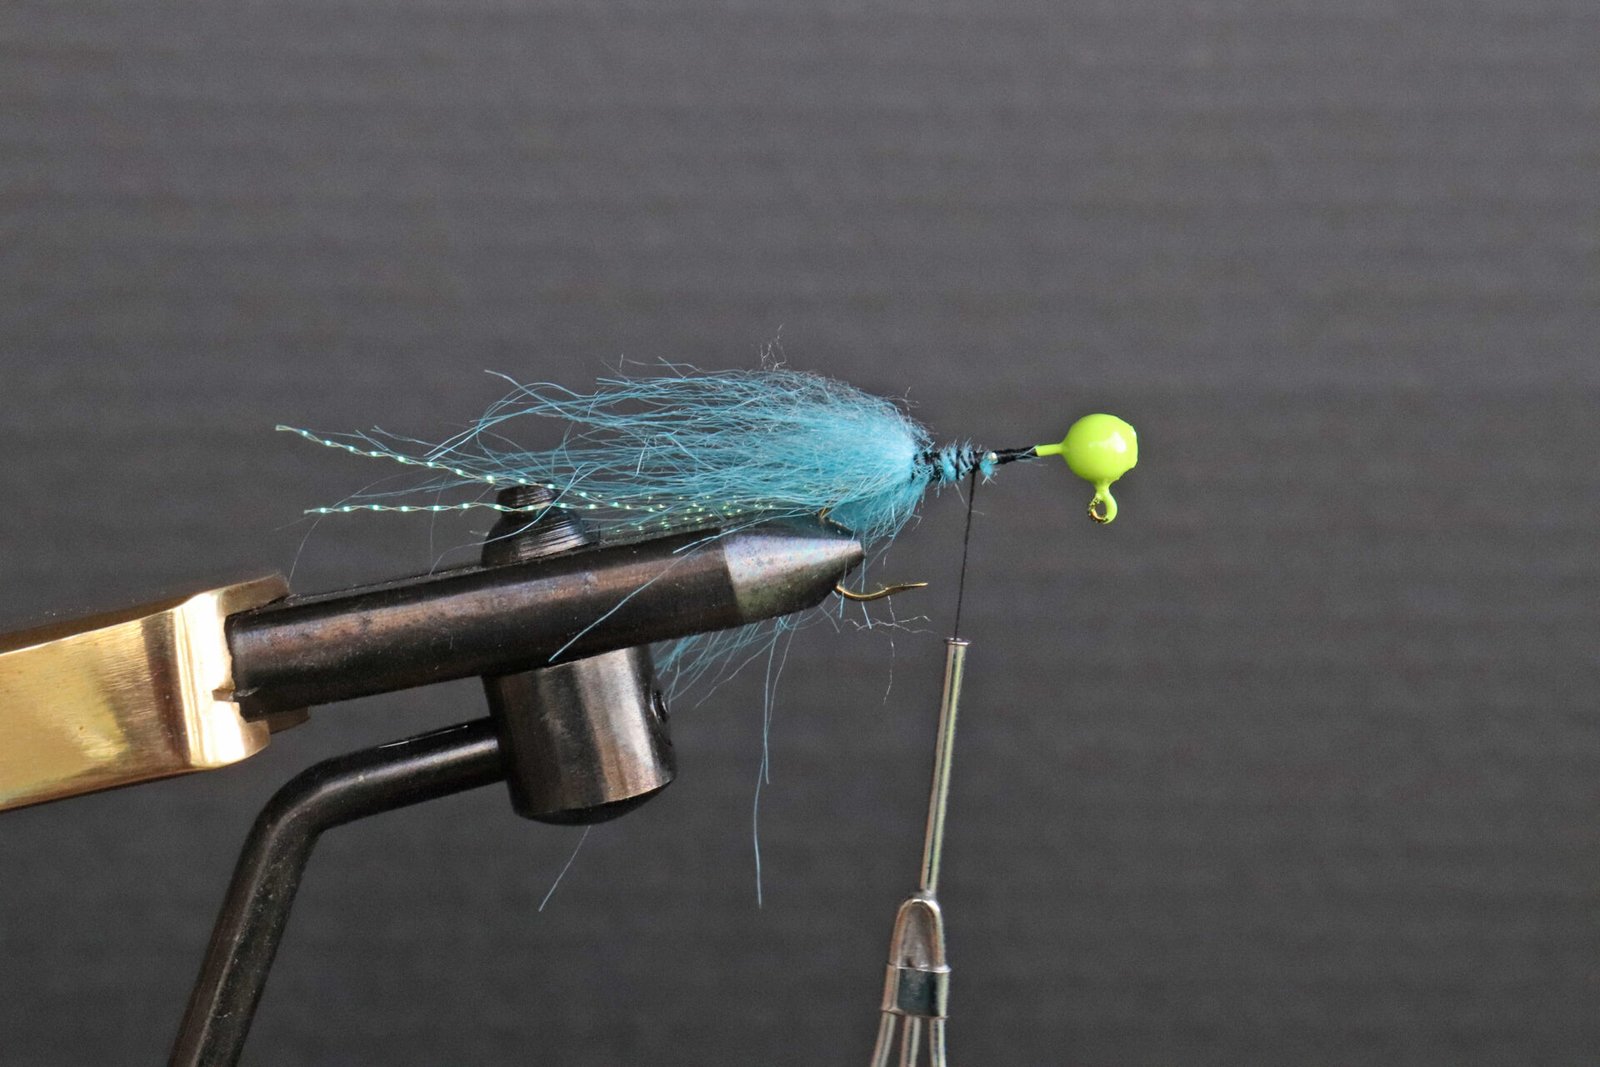
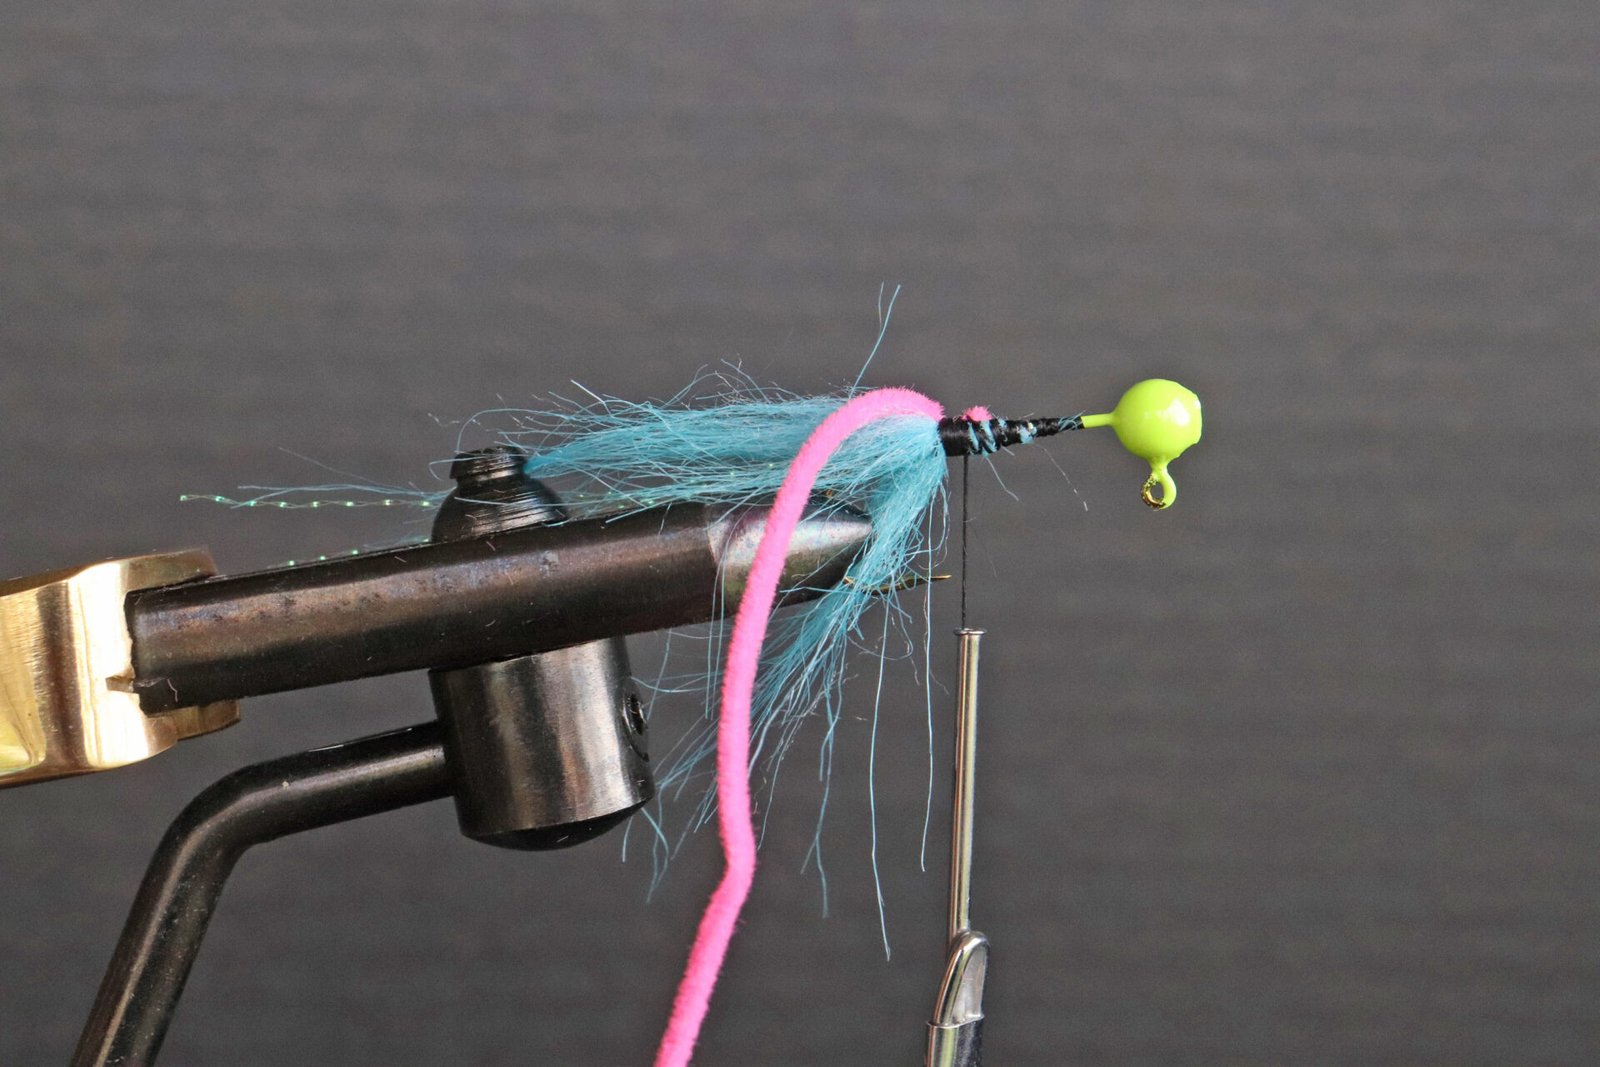
Here are step-by-step instructions for my version of the Electric Chicken. I chose this one because there are three materials used. Each step is matched to like numbered photo. As you will discover, there are other patterns that are either easier or more difficult to tie.
“Not every crappie angler stocks hair jigs in their tackle box…but they should!”
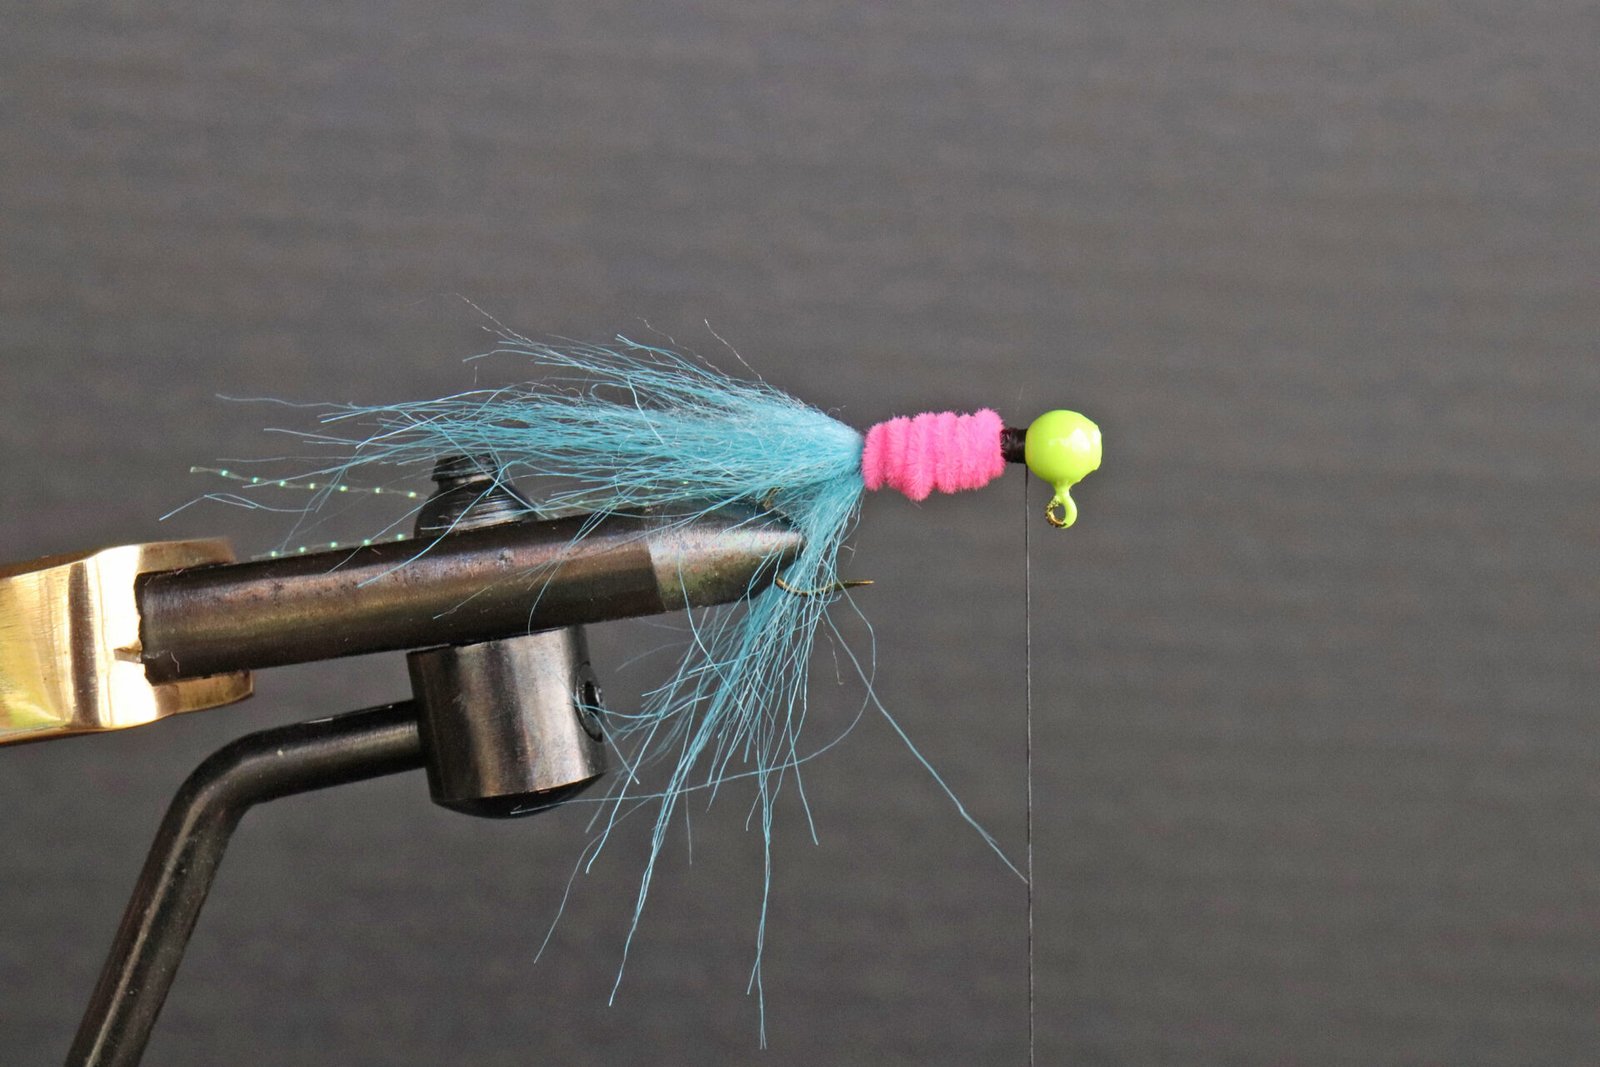
The Bearded Electric Chicken:
- Clamp a 1/16-ounce chartreuse leadhead in the vise at the hook bend. Secure the thread to the hook shank by wrapping the thread up and down the length of the shank, ending with the thread/bobbin positioned at the start of the hook bend.
- Cut three or four strands of Jig-N-Flash to approximately three inches. With thumb and forefinger of your left hand, pinch one end of the strands to hook shank; with the Bobbin in your right hand, secure Flash stands to the hook with several wraps of thread, leaving about a 2-inch tail.
- Cut a very small tuff of blue Craft fur about 2 inches long. Using your thumb and forefinger, hold it against the hook shank immediately in front of the accent flash. Lock it in place with three wraps of the thread. Add additional tuffs of Craft Hair in different positions around the shank, securing each tuff before adding the next.
- Cut approximately a 3-inch strip of pink Chenille. Secure it to the hook shank with thread in front of the Craft Hair. Advance the thread up the hook shank to immediately behind the head.
- With tag end of chenille in the hackle pliers, wrap the chenille up the shank to the head. (For thicker body, wrap back down the shank and up again.) Secure the chenille with several wraps of thread, then carefully trim the excess chenille. Be careful not to cut the thread. Begin over-laying thread to create a 1/16-inch-wide thread collar.
- Finish up with three half hitches over the collar thread and apply several drops of head cement. Let dry thoroughly before cutting the thread.
Now go fish!
Darl Black began his career as an outdoor writer over 50 years on a on a long-forgotten communications instrument – a typewriter. Since then, his columns, articles, and photos have appeared in dozens of regional and national fishing related publications.


